
Repairing Drywall Water Damage: Restoring Your Drywall
by admin Posted on May 26, 2021
It’s really frustrating if water damages our drywall. Not only that it leaves ugly water stain marks on the wall but it can also cause mold to develop, which can be very dangerous to your health. Drywall molds are black molds that can cause a lot of harm on your overall well-being. In fact, it can cause respiratory illnesses, such as bleeding of the lungs and other serious health conditions.
Water damage to drywall is commonly the result of roofing and plumbing leaks. It may seem harmless but this kind of damage to your home is a project that you should take seriously and prioritize. If you are trying to spot water damage on your drywall, you can simply look for bulging, sagging, discoloration, and cracks. These things indicate water damage on your drywall.
You need to keep in mind that water can easily drip and run along interior pipes. So, it is very important that you should look for damage on both the ceilings and the walls. Also, you should keep in mind that you shouldnít be surprised to find damage that is far away from the leak.
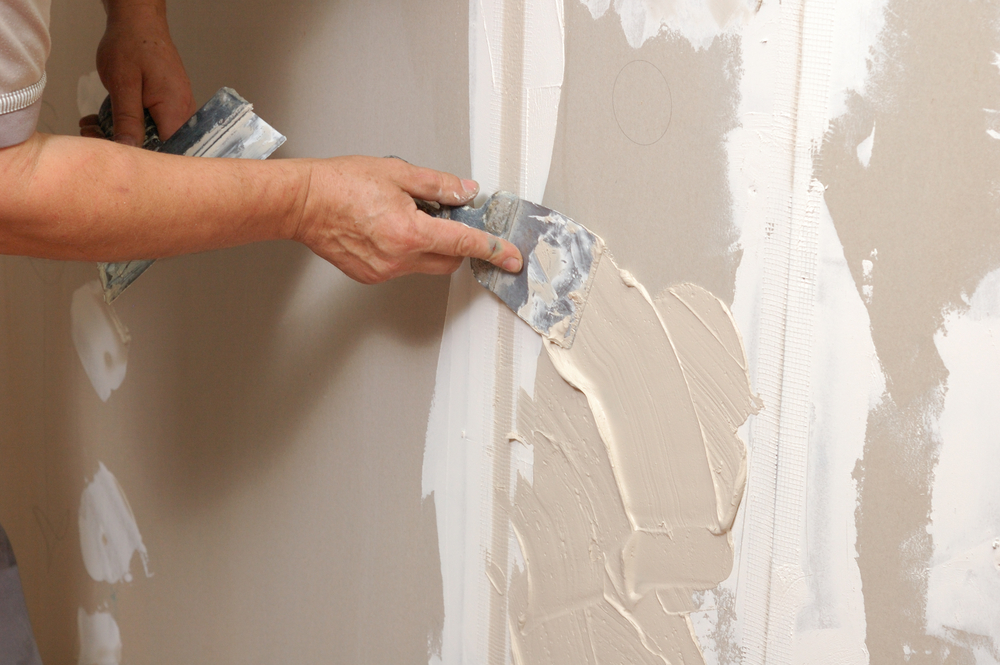
If you only find small cracks, the water damage can be very easy to fix. All you need to do is get a ready mixed spackling compound and apply it on the crack with a putty knife. You can also apply a strip of fiberglass mesh tape, which can strengthen the area where the putty can be applied. However, if you find a much larger damage than a simple crack, then you will be required to do more structural work.
The first step in repairing large portions of water damage in your drywall is to remove all the materials that have been affected. Cut the area of the drywall where the water soaked. In fact, the drywall may already be crumbling. If not, you may need to use a jigsaw or a drywall handsaw to cut away the damaged part of the wall. Always be on the lookout for molds and mildew. If you find mold and mildew clinging on the drywall, then this part of the drywall cannot be saved and should be removed immediately. Also, all the surfaces should be thoroughly cleaned.
After removing the damaged part, you first have to let the area dry completely before you start patching in the holes. Use a high powered fan and a dehumidifier if possible to let air circulate and reduce the moisture content in the air. Allow to dry for at least 12 hours. Also, you have to make sure that the leak has been fixed and that the area where you are going to do the repairs is moisture free.
When the area is already completely dry, the next step is to replace the damaged part with a piece of drywall that is fitted and blended in to the existing wall in order for it to become unnoticeable. There are water resistant drywalls available today and this is basically the best type of drywall that you can use for repairing or replacing water damaged drywall.
For larger holes, you will need a plywood backer board in order to have a place to fasten the replacement drywall. After securing the patch, the next step is to applying fiberglass drywall tape and covered with drywall mud. After the mud has cured, the next step is to sand the joints in order to ensure a flat and smooth finish and get it ready for painting.